Tuesday, October 23, 2012

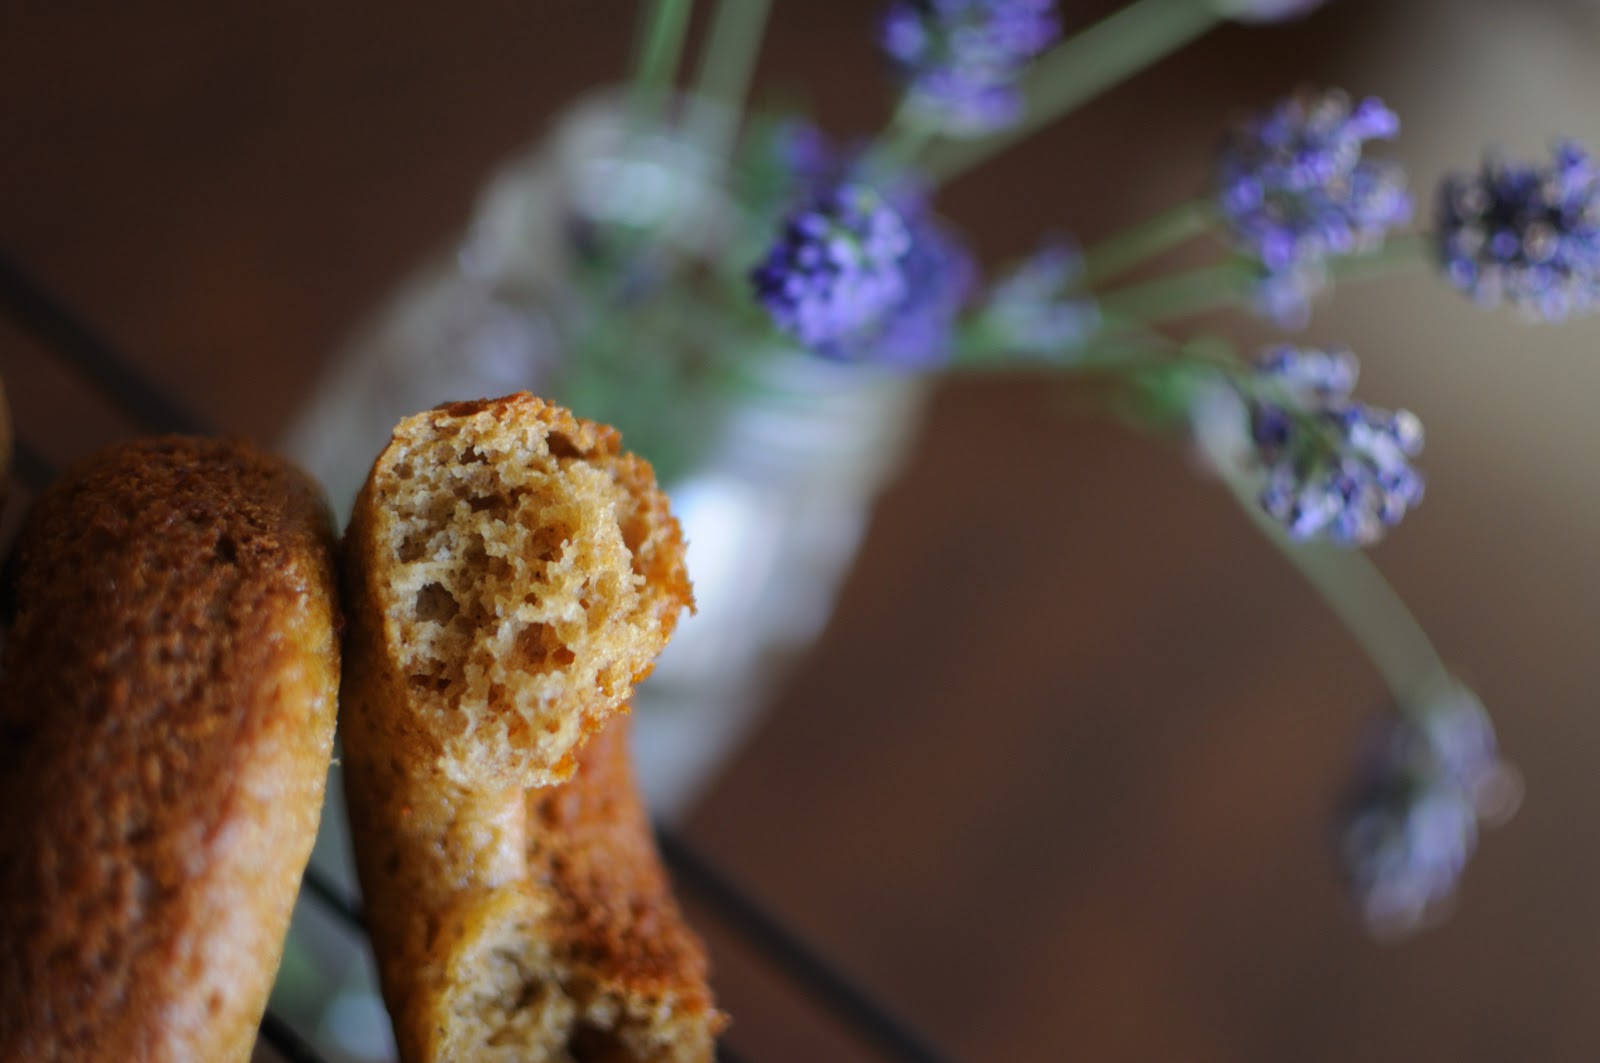
Jello Worms for Halloween


My Oh My Oh My ... it has been such a long time since my last post. Time just fly by so fast i cannot believe it is Halloween soon. Without wasting any more time, in this post, i will show you how to do something yummy that nobody want to eat or even give it a try :D What?!?! then why worth doing it??!?!?!? :D Well, it's simply because It is nice and excited to bring it to any party and because It is H-A-L-L-O-W-E-E-N!!! By the way, it taste great!! :D

Tuesday, May 8, 2012

Sex in a pan (really?!)


It would be a lie if i tell you that i have nothing to do with the name of this dessert. In face, it is the reason why i tried it. Dessert itself look really nice to me but the name .. this name. I cannot help but wondering how this (layer-like) dessert have this name. May be, simply to have people attention which seem to work well, at least to me :D As i am so curious, i decided to make it. Hmmmm.. the name will fit if your are "pudding" lovers. The method of making this dessert is very easy to make. It might take a little bit of time as you have to fridge each layer before you can add  in next layer. Well, if you are interesting to know if this dessert fit its name. then .. make them will be the only way to find out! ;-) In case you did, please stop by to let me know what you think ^_^


Tuesday, April 17, 2012

Banana Cake & Chocolate frosting


It seem like a common problem in every single household to, somehow, have over ripe banana hanging in the kitchen once in a while. Then, instead of in a rush to eat them all in once or throw them away, as everybody else, i begin to search for some recipes. Yes, as an excuse to bake ;-) Any recipe that sound yummy and healthy to me. I usually choose recipes from their ingredients (and their pictures of course!! :D Nice pictures give me courage to TRY to do as nice!). This recipe i found have a very yummy pictures that immediately drive me to the kitchen and make it. Ingredients are simple and usually in the cabinet ready to be used. Lots of banana in the recipe, love it! I, by the way, substitute some ingredients to suit my family and it still turns out really nice and yummy. Happy! 

The texture of the cake is soft and moist (just moist, not dense not wet!). Taste of banana is just right, not more - not less. The frosting!!! This frosting is yummy! It gets along so well with the cake. They belong together!! I bake them in mini square pan to make it easy for single serve which is fun for kids as they can decorate their own "piece of cake" ^_^ Yes, enough talking. Let's bake now!

Wednesday, April 11, 2012

S'more .. in a second


Ok, it is not exactly "a second" but it is so quick (to find a way to get fat and happy .. no, did i said it out loud! I'm sorry ;-P) to be happy in less than 5 minutes. 
This s'more is fun - quick - yummy. Kids will immediately smile (adult as well ;-)). 

Monday, April 9, 2012

Carrot cake for Easter


Bunny Bunny Bunny, Everything turn into bunny and eggs shape during Easter time of the year. This year, i turn carrot (of course! what else can it be! bunny <> carrot! :D) cake into Bunny face and make fluffy fur out of vanilla butter cream frosting. Result? My daughter said it is too cute to eat -_-'' Yes, she is funny! This is such a great cake!!! Cake itself is so soft, moist and tasty - not too sweet. I changed recipe slightly to make it more healthy: raw sugar instead of white, low fat sour cream instead of buttermilk, a little more whole wheat and a little less of white, without forgetting "carrot" of course. Nut are very welcome in this cake. For the frosting part, carrot cake usually pair very well with "cream cheese frosting" but as my kids are not a big fan of cream cheese. So, vanilla butter cream would be my alternate choice. This tasty and oh-so-smooth vanilla butter cream is so good. It make everything come together so well. Next time, i might try to add a pinch of nutmeg. It might get a little kick to this carrot cake, don't you think? ;-) Last but not least, to finish the decorate, I use "sparkle gel decorating" for those cute little long ears, nose and eyes. Now, let see how we can make it happen, shall we ^_^

Tuesday, March 13, 2012

Blueberries frozen yogurt


Making your own frozen yogurt without any need of ice cream maker is so much fun and yes, you can add anything you like in it. Strawberries, blueberries, raspberries, kiwi, any fruits any mix in will do. Even chocolate chip, crushed Oreo, oh .. so many. Just about anything you like ^_^ as much as you like. I found this amazing recipe from here and it is great. Let's see how she made it, shall we? ^_^

Thursday, March 1, 2012

Banoffee Pie


Banana, caramel, cream .. how can you go wrong with these? But to make a nice presentation, here come the yummy and crispy crust. Nice shape, taste great. Let's make now! ^^

Chocolate butterfies


If you are looking for some ideas on how to decorate your butter cream cake, 
or on top of cupcakes .. this will be one of many goods ideas. 
It's easy. It's quick. It's fun! and most of all, It's beautiful! ^_^

Monday, February 6, 2012

Salmon in puff pastry


Beside lot of calories that can come with those crispy puff pastry, this dish is quite health as there are good ingredients like salmon (high protein, high omega-3 fatty acids, and high vitamin D content), spinach (high calcium content, rich source of iron, rich in antioxidants, rich source of vitamin A, etc.), garlic. Not a lots of ingredients but enough healthy to make this dish so good. Quick to prepare and up! in the oven. The crust is crispy and tasty. Salmon is soft and fill with aroma from spinach and mushroom. White sauce make everything come together and make salmon so moist and tasty. Serve with nice fresh salad on the side, this dish will surely make family, friends, guests, and everyone on the table smile :) And why not make it for dinner tonight? ;)

Friday, January 20, 2012

Homemade fondant

What can be better than homemade fondant. Just 3 ingredients and will a little hand/arm work out, you will have lovely and yummy fondant to decorate your beautiful cake in no time. Let's do it! :)

Ingredients:
  • 1 (big size) bag  Marshmallows (or mini)
  • 1 (1 kilogram) bag Icing sugar
  • Crisco shortenning (to knead the fondant)
  • 2 tablespoons of water
Directions:
  1. In a medium size bowl, microwave-safe, put in -- marshmallows + 2 tbsp water --
  2. Heat in microwave for about 30 seconds, take it out to stir, repeat (microwave - stir) until all marshmallow are melted.
  3. Stir in -- 3/4 of icing sugar -- into melted marshmallows. Mix together until combined, briefly.
  4. Sprinkle icing sugar over working surface. Dump the dough on top. Very well grease your hand all over with -- shortening -- then begin to knead. Add in icing sugar until desire consistency. Add in -- gel color -- if using.
  5. Covered with cling film then let it rest for an hour or over night at room temperature before using. Or you can, as well, use it right away :) 
Note:
  • Add a teaspoon of water, at a time, if the dough become to dry. 
  • Well grease shortening on hand while knead, as often as need. As soon as hand get sticky!
  • Use only gel food coloring and not the liquid food coloring to mix in the fondant.
*Covered with cling film, in the zip lock bag, in the fridge, good for several months! Just take it out an hour or 2 from the fridge before need :)


ENJOY!

Son's Birthday cake

It has been so long since my last update on my blog. I am so sorry to all my lovely followers as well as my kind visitors that take their value time to stop by .. sorry for not being there updating my blog. I have been on a holidays, far from where i live right now. Back to my dearest country i missed so much. I have spend most of my time over there, half of the world away, from cold to hot, eating and eating and eating.. not so interesting i know .. It's just because i love the food from my country so much that i try to catch up what i missed from the whole year back. As the result, i gain LOTS of weight. No complaining!

I still didn't have a chance to bake any sweet as i (as well as my whole family :D) have to lose (6 kg!) some weights. So, i will simply just share you the pictures of Birthday Cake that i make for my family last year. Interesting? :D

This one is my son's 3rd Birthday cake. Yes, easy to guess that he must like spider man so much he wanted to eat him :D 


Wednesday, November 9, 2011

Rice Krispy .. Halloween theme


.. Halloween ..

Sorry for late post but %#@%$#@ (Hope you understand :D)

Well, what are these? These are Halloween treats for kids (and adult, why not?!) that i made for our lovely kids neighborhood party. Yes, Rice Krispy. It's Quick, Easy, Yummy and last but not least, kids-friendly :) Even kids can make their own!

Cinnamon Crown Bread


"What a beautiful food!" That's the first thought i have on my mind when i first saw this recipe. Then, here come the second thought "I will have to make this". Doesn't matter what it's going to taste like (and yes! it tastes great :)). It's look so beautiful that i would love to have it on my dinner table this evening :) So, let's make it!

Monday, October 31, 2011

Povitica: The Daring Baker’s October 2011 challenge

The Daring Baker’s October 2011 challenge was Povitica, hosted by Jenni of The Gingered Whisk. Povitica is a traditional Eastern European Dessert Bread that is as lovely to look at as it is to eat!


Fun Fun Fun, all i can say it "Fun". Again, it is a little bit time consuming as you have to wait for the dough to rise. But the dough can stretch very amazing!! I can really see through the dough without tearing it apart. it's soft as silk. Love it! It surprises me so much how big the dough can stretch. I prepare my counter top a big area to roll the roll but it turn out that the dough reach all the edge of my counter top :D How funny is that! Nutty filling is yummy. Everything get along so well :) And the look, do i need to say more??!?!?!?!?!?!?! :) Why don't you try it yourself? You might find out your hidden talent ;) Who's know ;) Well, enough talking, let's roll!!! :)

Thursday, October 20, 2011

Halloween treats : Marshmallow Pops


I used to think that Halloween is just for kids. But since i have my own kids, and since i fall in love with baking .. i realize that i was wrong. Halloween is for everyone :) Happy for the person who make (treats) and Happy for the kids who will receive (treats) ^_^

Monday, October 17, 2011

Baked apple cider (mini) doughnuts


I love doughnut. Who doesn't?!?!?! :) Deep fly made doughnut sound unhealthy but since i heard about "Baked Doughnut" my mind just keep thinking about it "Doughnut .. Doughnut and Doughnut". Finally, today is the day, i am going to make it. Let's see!!!! or even better, Let's EAT!!!! :D

To be honest, there is, in anyway, the different between these 2 kinds of doughnuts. The texture of "Baked doughnut" is more like a "light" bread .. not as light as "Deep fly Doughnut" but thinking that it is healthier. Why not! Beside, the taste is great :) 

I made "Baked Doughnut" once and it was so much fun to make. The method is like making a bread. (I love making bread! :)) The texture was a little bit dense. Of course, it was YUMMY. That's for sure :) So, this time i try "Baked Doughtnut" in Doughnut pan :) It soft, light, and yes, again YUMMY as usual :) It is more like a cake in circle form but that's still make me feel good eating them: healthy and it's DOUGHNUT!!!! ^_^

Ingredients:
adapted from here

makes about 24 mini doughnuts
  • 1 cup unbleached all-purpose flour
  • 3/4 tsp baking powder
  • 3/4 tsp baking soda
  • 1/4 teaspoon salt
  • 1 tsp ground cinnamon
  • 1/2 tsp apple pie spice 

  • 1 egg
  • 1/4 cup packed brown sugar
  • 1/4 cup unsweetened applesauce
  • 2 tbsp pure maple syrup
  • 3 tbsp apple cider
  • 3 tbsp plain yogurt
  • 1 and 1/2 tbsp canola oil


Direction:
  1. Preheat oven to 350 degrees F.
  2. Lightly coat "mini doughnuts pan" with cooking spray. Sprinkle "mini doughnuts pan" lightly with sugar, shake out excess.
  3. In a medium bowl, whisk together -- flour + baking powder + baking soda + salt + cinnamon + apple pie spice -- set aside.
  4. In a large bowl, whisk together -- egg + brown sugar + applesauce + maple syrup + apple cider + yogurt + oil --
  5. Add wet ingredients to dry ingredients, and stir just until combined. 
  6. Pour the batter into a zip lock bag. Cut one corner of the bag.
  7. Squeeze out the batter, almost 3/4 full, into each space. Not more than 3/4 full please!
  8. Bake until lightly golden brown, about 5-7 minutes. Wait a few minutes then carefully (tapping) remove doughnuts from pan  and let cool completely on a wire rack.


Hope this will give you an idea of making some :)  
Enjoy ^_^

Fun with crayons!


Being home with active kids is not easy. As a mom, we always need to find something to keep them busy. Sometime it's work well, sometime (often!) not. This project is one of "Sometime it's work well" :D It's so much fun. Kids can help almost in everysteps. Only "microwave" step that need parents or adult to help :) I love this activity as kids can help a lot and can decide on their own what color they like, what shape of the (new) crayon they want them to turn into. Most of all, They love their (new) crayon even more :)


To do this, we need some exercise .. parents (and yes, kids) will need to go search at every corners of the house: drawer, under table, on the carpet, in backpack, etc. Goal: try to collect as much as crayons as possible. The broken one are the best because it's just make your job quicker :) 


Take off all paper cover, then cut/smash/break them into small pieces. Arrange them as you like (mixing colors or same shade of colors) in each cube of an ice tray .. Sprinkle a little bit of glitters on the bottoms, in between, and on top if you like .. yes, only for girl in this case :)


When ready, slowly move the tray onto flat dish before putting in the microwave, heat for a few minutes (depend on the power of the microwave). Keep an eye on the tray at all time as you heat because too hot/too long can melt the ice tray (depend on the power of the microwave - depend on the quality of an ice tray). Well, i did melted one of my ice tray! And i can tell you that cleaning up the melted plastic on counter top is VERY messy job! So, better avoid it if possible :} 

As soon as it begin to melt, take the tray out and with a toothpick stir a little/gentle the pieces that doesn't well melted. Let's them cool down completely by set aside on the counter top or put it in the freeze until firm.


Once cooled completely, pop them out from ice tray by turning the tray up side down then gently push the bottom. Push push and push. IMPORTANT, during lift up the tray, look at your kid's face! Their smile will getting bigger and bigger :) please do not miss this moment. That's what this project for .. to see your kids smiles .. ^_^

Personal Useful Tips:

There are many methods to recycle the broken/forgotten crayons
  • Ice tray - in microwave: This is the simplest and quickest method. The result look very nice as you can choose where you want the color to be. But risk in melting the tray if the heat is too long.
  • Cake/cookie pan - in the oven: this is the same way than "ice tray - in microwave". The different is that you need tray/pan that oven-safe. Melt them in preheat oven at 250 F until all melted without bubbling. Again, this method give a very nice result as you can choose where you want the color to be. And no "pushing" as you can just tap the pan on the counter top. I personally don't choose this method as i don't like to mix crayon and food. But if you can just keep that tray just only for making crayon, that will be perfect.

  • candy/chocolate mold - in double boil method: This method is good ONLY if you want to make the same color in a batch. If you melt many colors in the same batch, you will end up having the "brown" colors because all colors with mix up as you have to stir it during double boil. *Double boil method: Heat a few inch height of water in a small sauce pan. Put broken crayons inside heat-safe container (i use Jam container :)) then place inside saucepan with boiling water. Wait until melt then, with chopstick, stir a little bit the pieces that doesn't well melted. Immediately pour melted liquid into candy/chocolate mold. Let's cool completely before un-mold.

Yes, and now they will need some white paper to show how talented they are :) with help from new colorful crayons made by them. No need to change from one to another crayons anymore because all colors are already in one pieces :)

Have fun coloring!!

Wednesday, October 12, 2011

Happy (Belated) Thanksgiving everyone!


 Turkey (paper) stuffed (popcorn) ^_^ for meal 


Marshmallow turkey pops for dessert ^_^

Thursday, September 29, 2011

Croissants


The Daring Bakers go retro this month! Thanks to one of our very talented non-blogging members, Sarah, the Daring Bakers were challenged to make Croissants using a recipe from the Queen of French Cooking, none other than Julia Child!

Ingredients: for 12 croissants
  • 1¼ teaspoon dry-active yeast (about ½ sachet)
  • 3 tablespoons warm water (less than 100°F/38°C)
  • 1 teaspoon sugar

  • 2 teaspoons (9 gm) sugar
  • 1½ teaspoon (9 gm) salt
  • ½ cup (120 ml) full fat milk  
  • 1 3/4 cups (225 gm) bread flour 
  • 2 tablespoons (30 ml) canola oil 
  • ½ cup chilled, unsalted butter
  • 1 egg, for egg wash (i skip this step :})

    Directions: to make the dough
    1. In a small bowl, mix together -- yeast + warm water + first 1 teaspoon of sugar -- Leave aside for the yeast and sugar to dissolve and the yeast to foam up a little.
    2. Heat the -- milk -- until tepid (in the microwave) and dissolve in the -- salt + remaining 2 teaspoon sugar --
    3. In a large bowl, mix together -- flour + oil + yeast mixture + milk mixture -- using the rubber spatula, just until all the flour is incorporated.
    4. Turn the dough out onto a floured surface, and let it rest a minute.
    5. Knead the dough by smacking the dough on the counter and removing it from the counter using the pastry scraper .. eight to ten times only.
    6. Place the dough back in the bowl, covered with cling film. Leave the bowl at approximately 75°F/24°C for three hours, or until the dough has tripled in size.

    Have the dough ready ..
    1. After the dough has tripled in size, remove it gently from the bowl, pulling it away from the sides of the bowl with your fingertips.
    2. Place the dough on a lightly floured surface, and use your hands to press it out into a rectangle about 8 by 12 inches (20cm by 30cm).
    3. In three part, fold part of the dough on the left to the middle, then part of the dough on the right to the middle (over the dough from the left that you just fold over)

    1st proofing 3 hours .. and .. folding

    1. Place the dough (as it is) back in the bowl, covered with cling film. Leave the dough to rise for another 1 and a half hours, or until it has doubled in size. This second rise can be done overnight in the fridge.
    2. Place the double-risen dough onto a plate and cover tightly with plastic wrap. Place the plate in the fridge while you prepare the butter.
    3. Place the block of chilled butter on a chopping board. Using the rolling pin, beat the butter down a little, till it is quite flat. Use the heel of your hand to continue to spread the butter until it is smooth. You want the butter to stay cool, but spread easily.
    4. Remove the dough from the fridge and place it on a lightly floured surface. Let it rest for a minute or two. 
    5. Spread the dough using your hands into a rectangle about 14 by 8 inches (35 cm by 20 cm).
    6. Remove the butter from the board, and spread the butter all across the top two-thirds of the dough rectangle but keep it ¼ inch (6 mm) across from all the edges.
    7. Fold the top third of the dough down, and the bottom third of the dough up.
    8. Turn the dough package 90 degrees, so that the top flap is to your right.
    9. Roll out the dough package (gently, so you don’t push the butter out of the dough) until it is again about 14 by 8 inches (35 cm by 20 cm).
    10. Again, fold the top third down and the bottom third up.

    2nd proofing 1 and 1/2 hours .. and .. 2nd folding 2 times

    .. folding in butter ..
    1. Wrap the dough package in plastic wrap, and place it in the fridge for 2 hours.
    2. After two hours have passed, take the dough out of the fridge and place it again on the lightly floured surface.
    3. Tap the dough with the rolling pin, to deflate it a little. Let the dough rest for 8 to 10 minutes.
    4. Roll the dough package out till it is 14 by 8 inches (35 cm by 20 cm).
    5. Fold in three, as before.
    6. Turn 90 degrees, and roll out again to 14 by 8 inches (35 cm by 20 cm).
    7. Fold in three for the last time, wrap in plastic, and return the dough package to the fridge for two more hours (or overnight, with something heavy on top to stop it from rising).

    .. 3rd proofing 2 hours ..
      Directions: to shape the croissants
      1. Preheat the oven to 475°F/240°C/gas mark 9.
      2. Take the dough out of the fridge and let it rest for 10 minutes on the lightly floured surface.
      3. Roll the dough out into a 20 by 5 inch rectangle (51 cm by 12½ cm).
      4. Cut the dough into two rectangles (each 10 by 5 inches (25½ cm by 12½ cm)). Place one of the rectangles in the fridge, to keep the butter cold
      5. Roll the second rectangle out until it is 15 by 5 inches (38 cm by 12½ cm).
      6. Cut the rectangle into three squares (each 5 by 5 inches (12½ cm by 12½ cm))
      7. Place two of the squares in the fridge.
      8. Cut the square diagonally into two triangles.
      9. Stretch the triangle out a little, so it is not a right-angle triangle, but more of an isosceles. 
      10. Starting at the wide end, roll the triangle up towards the point, and curve into a crescent shape.
      11. Place the unbaked croissant on the baking sheet.
      12. Repeat the process with the remaining squares of dough, creating 12 croissants in total.
      13. Leave the tray of croissants, covered lightly with plastic wrap, to rise for 1 hour.
      14. (optional) Mix the egg with a teaspoon of water. Spread the egg wash across the tops of the croissants.
      15. Put the croissants in the oven for 12 to 15 minutes, until the tops are browned nicely.
      16. Take the croissants out of the oven, and place them on a rack to cool for 10 minutes before serving.
      .. Dip in Hot chocolate .. sooooooo good ^_^


      Now, it's your turn to make some and ENJOY ^_^

      Tuesday, August 9, 2011

      Sour cream Cake


      Sour cream cake. Simple & classic cake that easy to please all ages at any occasions. With " brown sugar filling", it add a nice crunchy texture and caramel taste to the cake. Walnuts, or any nuts you choose will only make this cake even more interesting. Look good, taste great .. serve them along with a cup of tea or coffee. Happy afternoon tea ^_^

      Related Posts Plugin for WordPress, Blogger...